

Images
Hey there! Ever wondered how to upload an image from your React Native app to some far-off server? You're in luck, because that's exactly what we're going to tackle here.
Don't sweat if you're looking for some more in-depth info (like upload progress, handling multiple images, or setting up a server). You can find all that jazz in our class on Uploading Images in React Native.
Alright, buckle up. Here's what we're diving into:
Tools You'll Need:
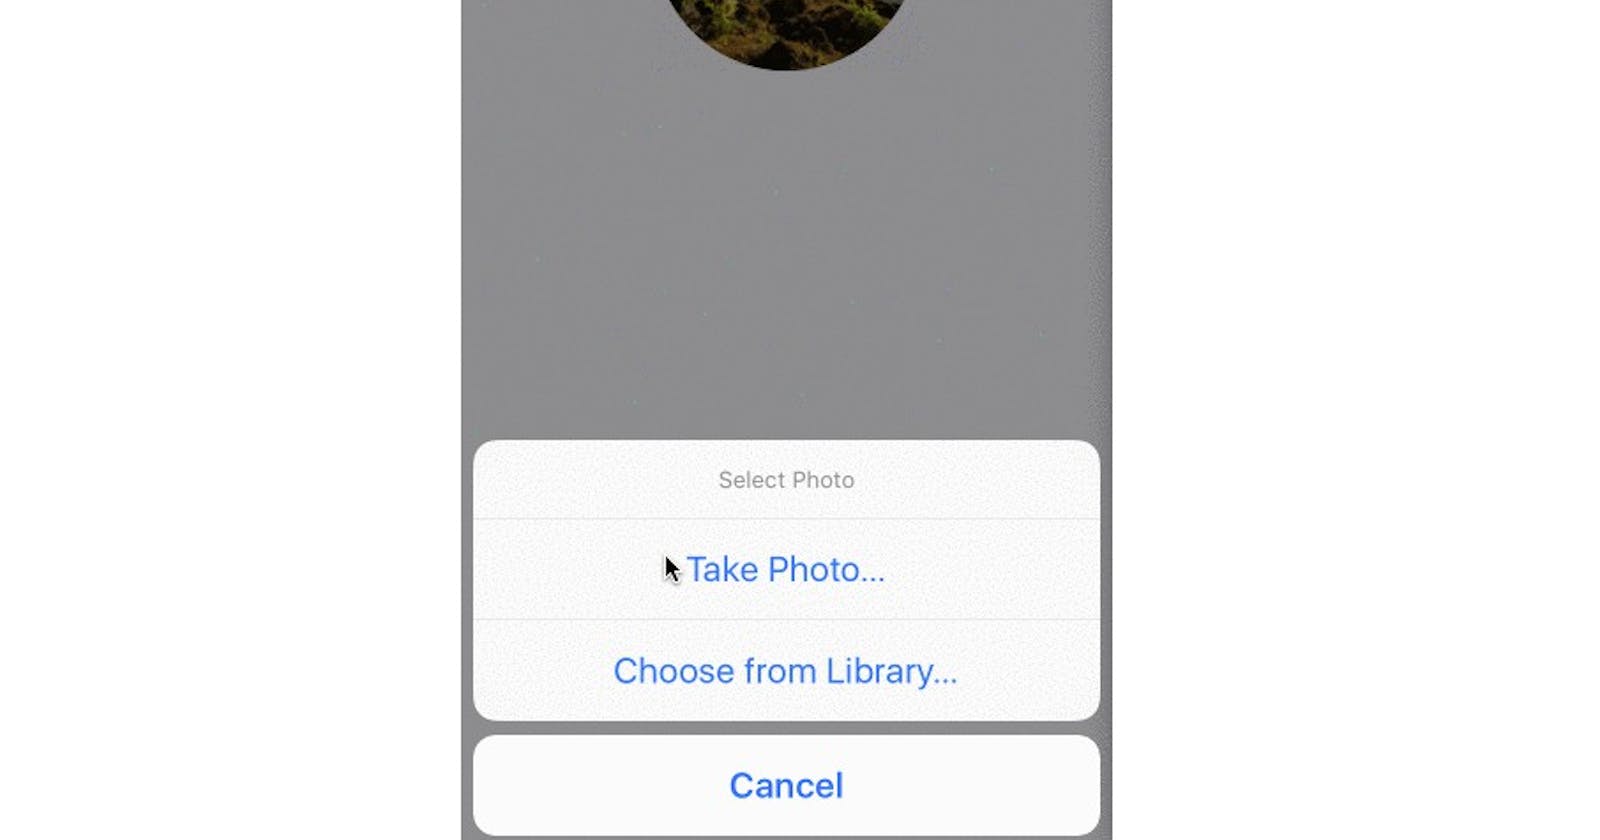
react-native-image-picker: This handy tool lets you pick images or access the camera.
Express + multer: With these, you can whip up a server that's ready to accept image uploads. The setup is mostly the same, no matter your backend.
The Code
Explanation of code below.
// server.js

const express = require('express');
const multer = require('multer');
const bodyParser = require('body-parser');

const app = express();
app.use(bodyParser.json());

const storage = multer.diskStorage({
  destination(req, file, callback) {
    callback(null, './images');
  },
  filename(req, file, callback) {
    callback(null, `${file.fieldname}_${Date.now()}_${file.originalname}`);
  },
});

const upload = multer({ storage });

app.get('/', (req, res) => {
  res.status(200).send('You can post to /api/upload.');
});

app.post('/api/upload', upload.array('photo', 3), (req, res) => {
  console.log('file', req.files);
  console.log('body', req.body);
  res.status(200).json({
    message: 'success!',
  });
});

app.listen(process.env.PORT || 3000, () => {
  console.log(
    `server is running at http://localhost:${process.env.PORT || 3000}`
  );
});
// App.js

import React from 'react';
import { View, Image, Button, Platform } from 'react-native';
import { launchImageLibrary } from 'react-native-image-picker';

const SERVER_URL = 'http://localhost:3000';

const createFormData = (photo, body = {}) => {
  const data = new FormData();

  data.append('photo', {
    name: photo.fileName,
    type: photo.type,
    uri: Platform.OS === 'ios' ? photo.uri.replace('file://', '') : photo.uri,
  });

  Object.keys(body).forEach((key) => {
    data.append(key, body[key]);
  });

  return data;
};

const App = () => {
  const [photo, setPhoto] = React.useState(null);

  const handleChoosePhoto = () => {
    launchImageLibrary({ noData: true }, (response) => {
      // console.log(response);
      if (response) {
        setPhoto(response);
      }
    });
  };

  const handleUploadPhoto = () => {
    fetch(`${SERVER_URL}/api/upload`, {
      method: 'POST',
      body: createFormData(photo, { userId: '123' }),
    })
      .then((response) => response.json())
      .then((response) => {
        console.log('response', response);
      })
      .catch((error) => {
        console.log('error', error);
      });
  };

  return (
    <View style={{ flex: 1, alignItems: 'center', justifyContent: 'center' }}>
      {photo && (
        <>
          <Image
            source={{ uri: photo.uri }}
            style={{ width: 300, height: 300 }}
          />
          <Button title="Upload Photo" onPress={handleUploadPhoto} />
        </>
      )}
      <Button title="Choose Photo" onPress={handleChoosePhoto} />
    </View>
  );
};

export default App;
All About server.js: How We Store Images from React Native
So, you want to know about the server, huh? Alright, let's dive into the basics first. Imagine we're running a normal Express server, but we've got this special path /api/upload. This guy uses something called Multer middleware, and it can handle multipart/form-data. If it spots something called "photo", it knows it's time to upload an image.
Want to know more about Multer? Check out its documentation. But basically, it writes files right into the images/ directory.
The uploaded file(s)? You'll find them at request.files, and any other data you send over is chilling at request.body.
Now, Let's Chat About App.js: Picking, Fixing, and Sending Images
First up, we've got this handleChoosePhoto function. It opens up the image library, and when a user clicks on a picture, we stash it in the state.
Then comes handleUploadPhoto. This sets up a normal fetch request with a POST method, and it rings up the /api/post route we made in the server.
Now, here's where things get a bit wild. Passing data in the body field? It's not the usual game of just turning some JSON into a string (like JSON.stringify({ example: true })) and calling it a day.
To deal with image uploads, we've gotta use multipart/form-data. That means we need to be a little fancy with formatting our data.
Enter the createFormData function. It takes our chosen image and adds it to the photo field in the form data with all the necessary info. You can also toss in any other data you like, like the userId, for example.
Once that's all done, the file's hanging out at request.files, and you can find the userId at request.body.userId. Cool, right?